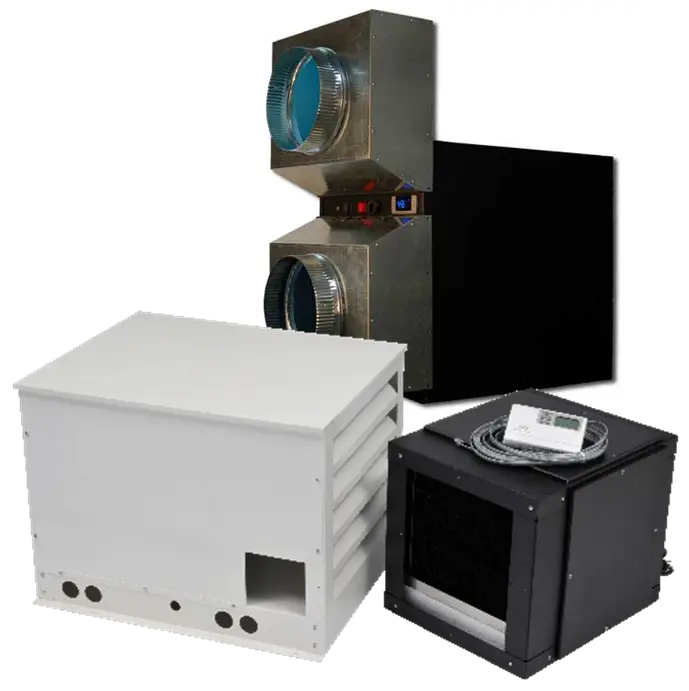
As you probably know, the cooling unit you put in place in your wine cellar will help to determine how your wine will be when you decide to open and drink it. Before talking about the conditions under which to store red and white wine, let’s review what your cellar should have before you move in any wine.
Preparing the Room to Meet Wine Storage Requirements
Prepare your wine cellar before installing your cooling unit.
- Put a vapor barrier in place in the walls and ceiling. A vapor barrier consists of 6 mils plastic sheeting and must be installed on the warm side to serve as a barrier between the cellar and the rest of your home. The room should be wrapped like a package so no moisture can escape.
- Put a vapor barrier on the floor. If the floor is concrete, you can use a product that goes on with a trowel found at most hardware stores. One recommended product is Bosticks MVP4.
Any tile or wood flooring can be installed right over this product once it drys. If your floor is above ground, you will want to add your vapor barrier and insulation just as you did on the walls and ceiling, while building up the floor.
- The proper insulation should then be installed in the walls and ceiling. A minimum of R-13 in the walls and R-19 in the ceiling. However, the more the better. The more insulation you add, the less work your cooling unit will have to do. This could save you money in the long run… so insulate well.
- Before installing your walls, depending on the cooling unit you are using, you may want to run a drain line, your copper lines (if applicable) and be sure to wire for your electrical. All units will need a place to drain and must have a dedicated circuit for the compressor.
-
An Efficient Wine Cooling Unit is a Vital Component of Wine Cellars
For the walls, you have a choice. You can use any moisture-resistant material. You can put a ½” plywood down first to make it easier to attach your racking to the walls… recommended especially if using metal racking. Then add a green board, or something similar.
- Another method is to add a heavy paneling such as a tongue and groove board or other board material that you might like to see in your room. Just make sure it is moisture resistant. If you are painting the walls, use latex paint.
- Now install your wine cooling unit. Again, depending on the unit you use, you may need to hire a licensed HVACR contractor for this. An HVACR contractor is required for your warranty to be valid if you are using any split system.
These are very basic steps. Clearly, there is more to building a Texas wine cellar in your home than the steps we list above, but we list them to give you an idea of the work involved in creating a space in your home that will perfectly preserve and help age any wine you store. Experts can help you throughout the process, from deciding the kind of cellar you want and where you want it to doing the actual work.
Best Conditions for Wine
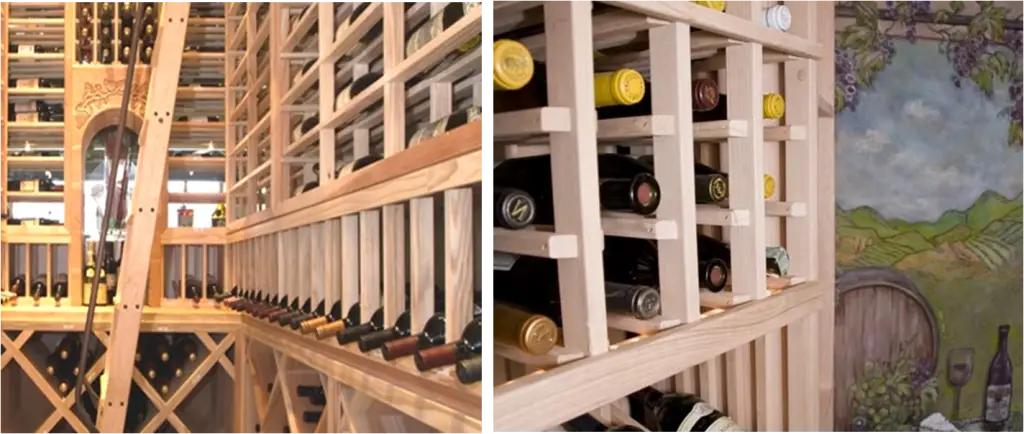
Once your cellar is in place, you get to move on to the fun part – actually storing your wine. We will cover in a series of other blog posts the types of racks you can use in your Texas wine cellar, but here, let’s briefly talk about the best conditions under which to store your red and white wine.

Drinking temperature is a different issue. Keep in mind that serving wine too hot or too cold can result in flat flavors and aromas. The right serving temperature can help preserve the freshness and fruitiness of the wine.
White wines may not be chilled enough in your wine cellar. Before serving a white wine, take the wine out of your cellar and put it into an ice bucket before you are planning to serve it. Serving champagne? Definitely chill champagne on ice before serving it. If you add water to the ice, the wine will chill faster.
The 55-degree storage temperature is equally important, if not more so, with your red wines. They typically are the wines that need more time to age before drinking. However, the 55 degrees is not the temperature you will want to drink your red wines at either.
Contrary to popular belief, red wine should not be served at normal room temperature. Depending upon the wine you are drinking, the ideal drinking temperature varies. There are many charts available online to help you along the way.
When in doubt, serve the wine a few degrees cooler than room temperature. The richer aroma is released as the wine warms up to room temperature. No wine should be served over 68 degrees F. Keep in mind that the cooling process helps age your wine and will let you store it for longer periods of time than just putting it away elsewhere.
One unit can serve to store red and white and conditions ideal for them, but remember you may need to take an extra step (cooling or “warming”) before serving.
Essential Wine Accessories for Serving Wine in Your Texas Wine Cellar
In addition to serving wine at the right temperature, you can invest in wine accessories to enhance your wine-drinking experience.
Aerator
An aerator is a must-have gadget of wine enthusiasts. It is used to reduce the level of carbon dioxide in wine. This process is called aeration, which can help increase your pleasure of drinking your precious wines, especially young ones. Aeration allows the wine to be exposed to the right amount of air, giving the wine a smoother texture and pleasant aromas.
Decanter
Another important wine cellar accessory is the decanter. The dark residuals in your glass or wine bottles are known as sediments. Before drinking wine, these sediments should be separated from the liquid to eliminate harsh flavors. It is a common practice to let a bottle stand vertically for at least 24-36 hours prior to decanting. This will allow for easy decanting because the sediments will settle at the bottom of the bottle.
Other Tips in Serving Wine
- When pouring wine, the wineglass must be on the table, not in your hand.
- Use a bigger wine glass for reds, and smaller ones for whites.
- Pour only 5-6 ounces of wine in a glass.
 />
/>


 Dallas
  Dallas
  Dallas
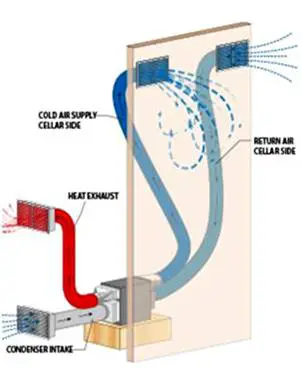
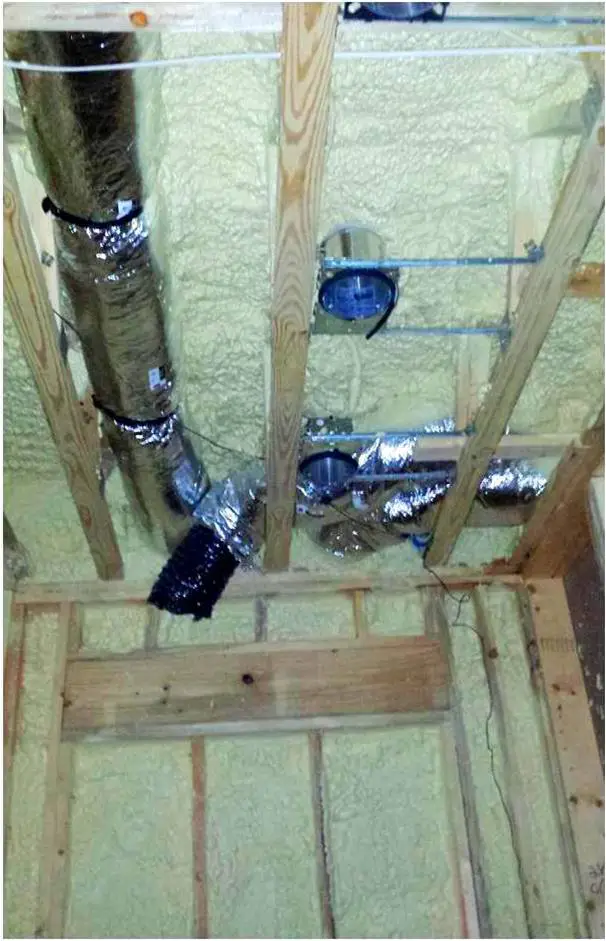 Prepare your wine cellar before installing your cooling unit.